Customizing Your Widget
Match the Kwiro chat widget to your store's brand with custom colors, position, welcome message, and bot name.
Make the Widget Feel Like Part of Your Store
Kwiro's chat widget is fully customizable so it blends seamlessly with your store's design. Every change you make takes effect immediately -- no need to republish or redeploy anything.
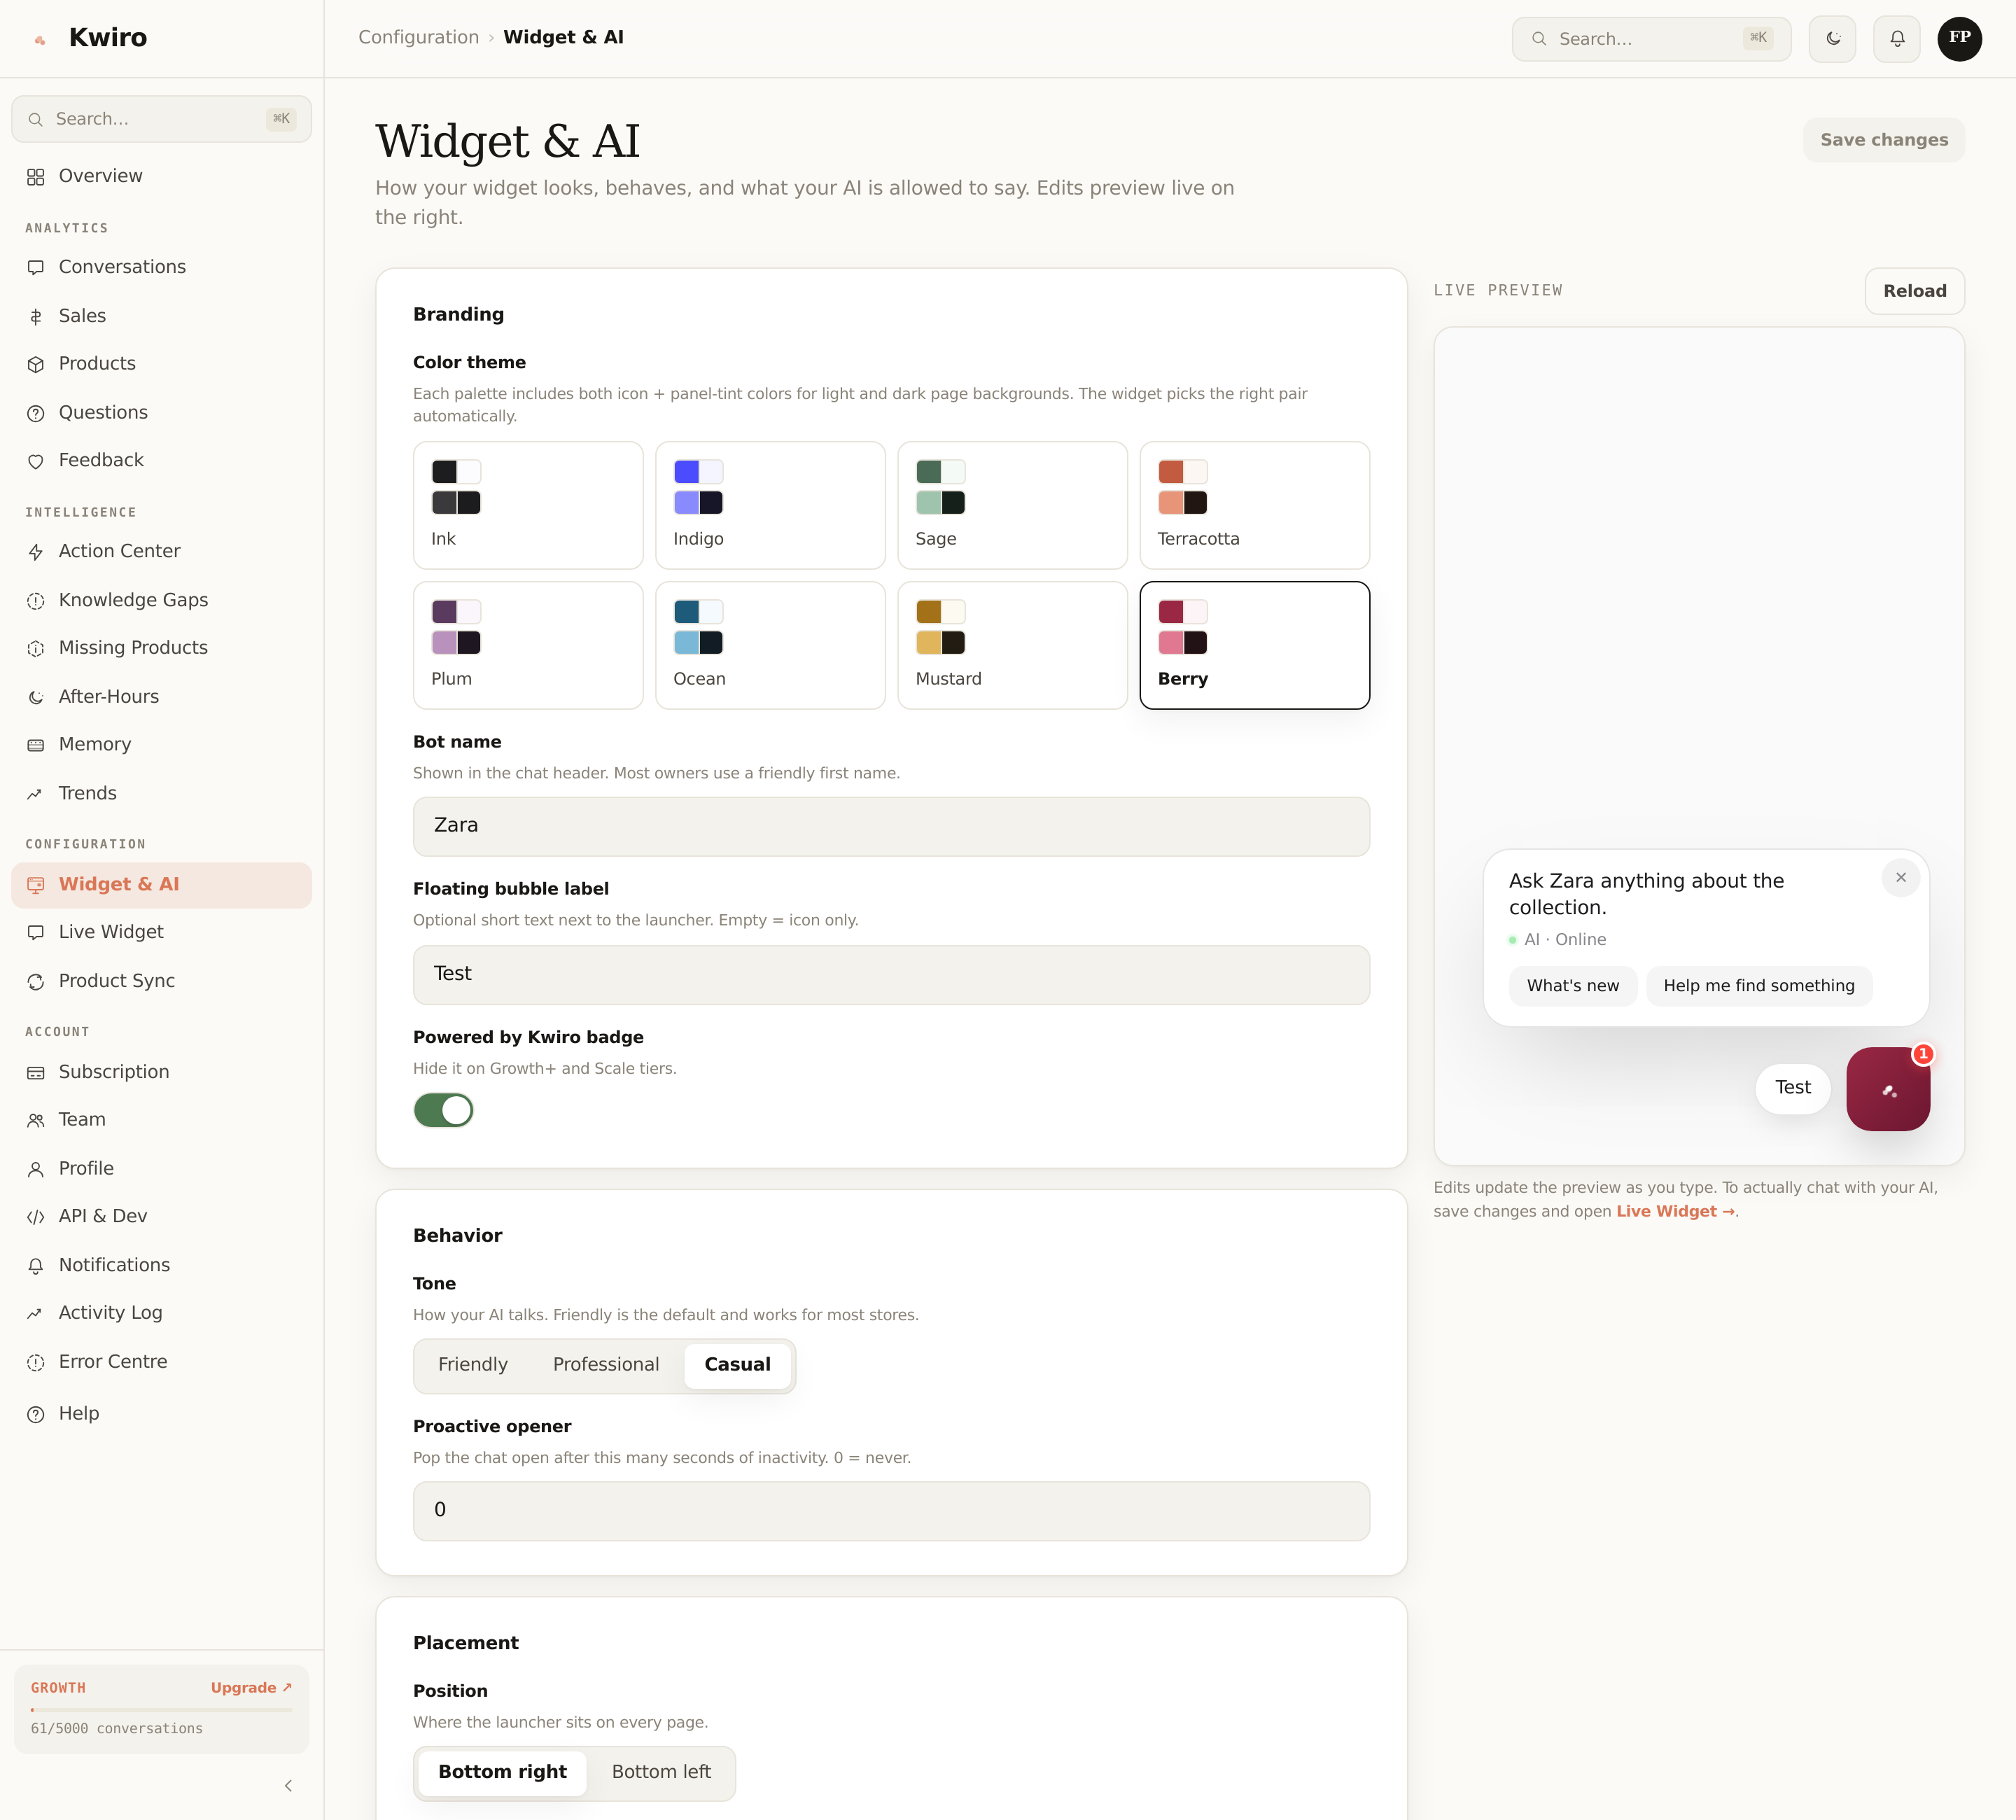
Where to Find Widget Settings
- Go to your WordPress admin dashboard
- Click AI Sales Assistant in the left sidebar
- Select the Widget tab at the top of the settings page
Change Your Brand Color
The Primary Color setting controls the color of the chat header, send button, and chat bubble.
Click the color picker or type in your brand's hex color code (for example, #2563EB for blue). The preview on the right side of the page updates in real time so you can see how it looks before saving.
Pick a color that matches your store's header or logo for a seamless look.
Set the Widget Position
Under Widget Position, choose where the chat bubble appears:
- Bottom Right (default) -- works best for most stores
- Bottom Left -- use this if you have other elements in the bottom-right corner, like a cookie banner or back-to-top button
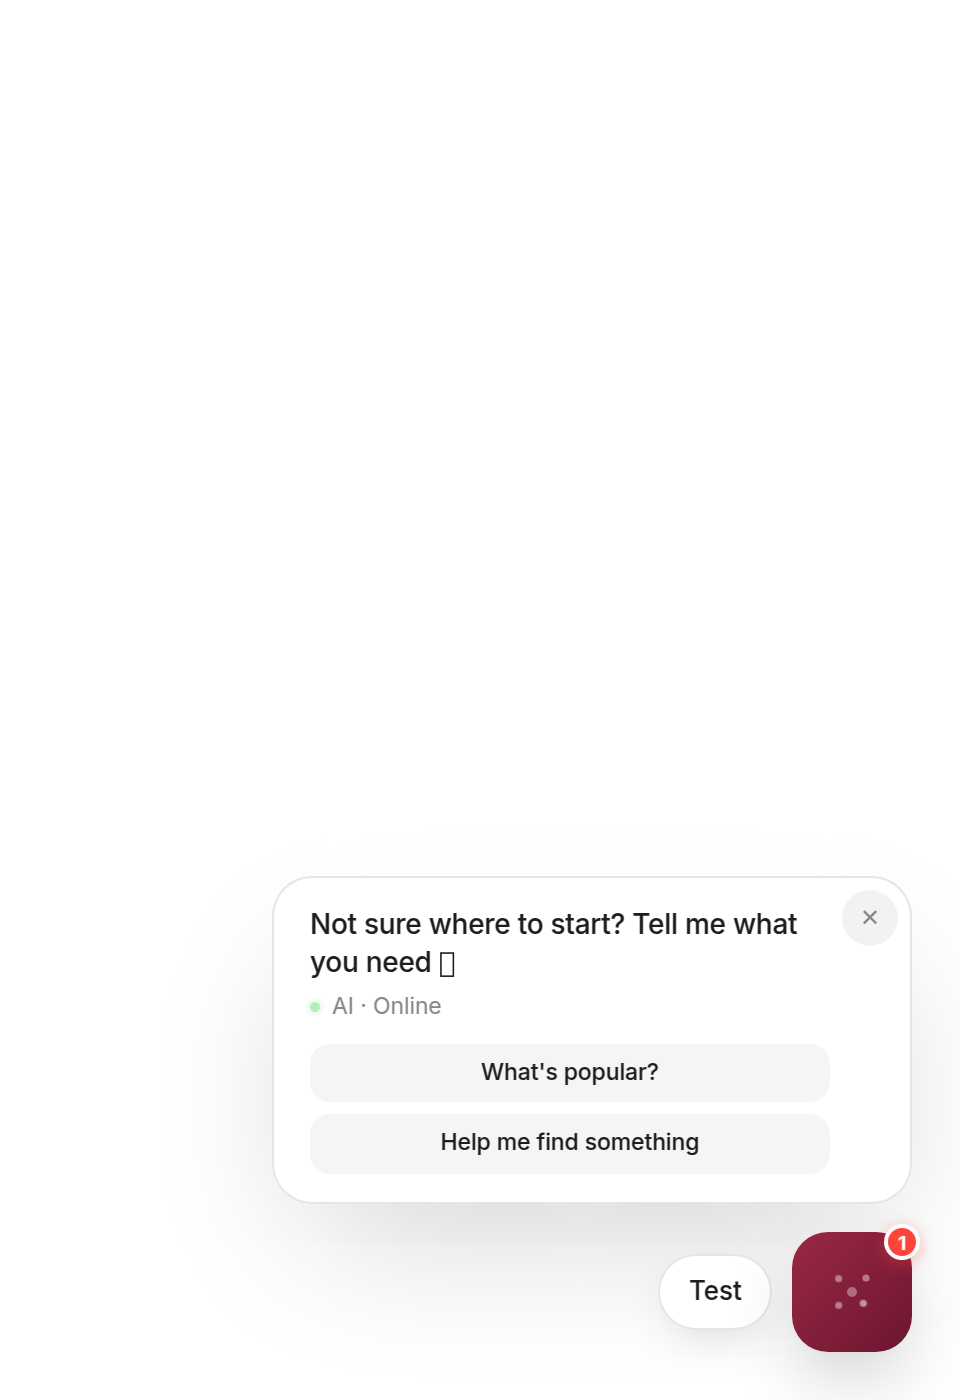
Write a Custom Welcome Message
The Welcome Message is the first thing customers see when they open the chat. The default is "Hi! I'm here to help you find the perfect product. Ask me anything!"
You can change this to match your brand voice. Some examples:
- "Welcome to [Store Name]! Looking for something specific? I can help."
- "Hey there! Need help picking the right product? Just ask."
- "Hi! I know our entire catalog. Tell me what you need."
Keep it short, friendly, and focused on helping the customer.
Name Your Bot
The Bot Name appears at the top of the chat window next to the header. The default is "AI Assistant," but you can change it to anything:
- Your store name (e.g., "StyleBot" for a fashion store)
- A friendly name (e.g., "Luna" or "Max")
- A descriptive name (e.g., "Shopping Helper")
Save Your Changes
After making your changes, click the Save Settings button at the bottom of the page. Your widget will update on your live store within seconds. Visit your store in a new tab to verify everything looks right.
Related reading
Getting Started
What is Kwiro?
Learn what Kwiro does, who it's for, and how it turns your WooCommerce store into a 24/7 sales machine.
ReadDaily Use
Your Dashboard Overview
A guided tour of the Kwiro dashboard -- see your AI's performance, revenue impact, and customer conversations at a glance.
ReadSmarter AI
Memory Inspector
Pin, edit, or delete what your AI has learned. The unique tool that lets you control the patterns Kwiro uses to sell.
Read